-
Replacement Parts
- By Serial Number
- By Apple Model
-
By Amazon Kindle Model
- Fire HD 6 (2014)
- Fire HD 7 (2014)
- Kindle Fire
- Kindle Fire (2nd Gen)
- Kindle Fire HD 7 (2012)
- Kindle Fire HD 7 (2013)
- Kindle Fire HD 8.9
- Kindle Fire HDX 7
- Kindle Fire HDX 8.9
- Kindle (1st Gen)
- Kindle DX
- Kindle Touch
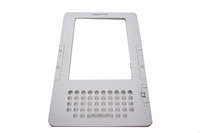
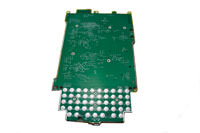
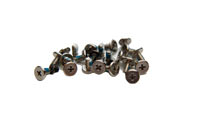
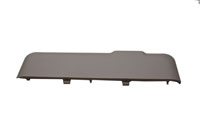
- Kindle 2 Parts
- Kindle 3 Parts
- Kindle 4 Parts
- Kindle 5 Parts
- Kindle 7 Parts
- Kindle Paperwhite
- Kindle Paperwhite (2013)
- Kindle Paperwhite (2015)
- Kindle Voyage
- View All Kindles
- By Other Brands
- By Category
- By Exploded View
- By Apple Parts List
- Call Us: 1-866-726-3342
- Send-In Repair
- Repair Guides
- Blog
- Other Services
- Support
-


Comments
Heather
Sid
Sid
David
Reuben
Powerbook Medic
brad
Jeremy