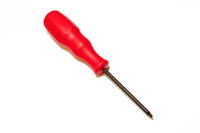
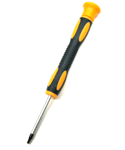
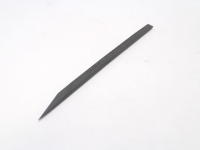
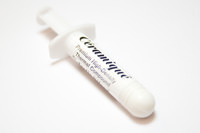
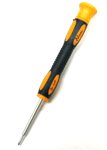
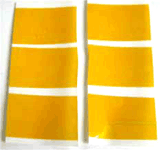
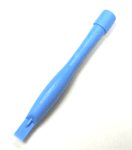
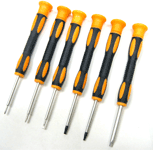
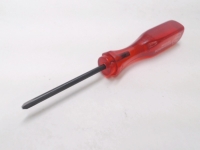
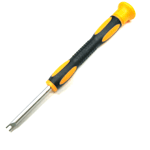
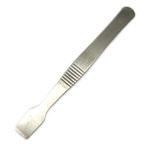
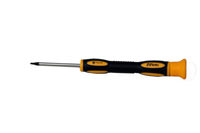
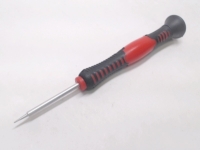
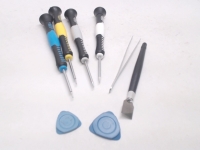
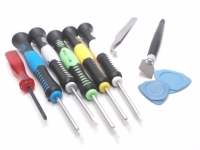
This is an official Powerbookmedic.com take-apart guide for the Kindle DX with model number D00801.

Comments

Tonglu

6 years ago
The cap of the select button is broken. Are you going to have the button in stock again soon?

John

7 years ago
My DX will not connect to WiFi, The wifi icon is displayed but the device will not connect to my Amazon acct. Also I was able to connect to the kindle store buy a book yet the book was never delivered to my device. Any Idea what the issue could be

Tony

8 years ago
I have not used my Kindle DX for some time. The battery is completely discharged. I used the wall outlet charger but it will not take a charge, The yellow charging light appears for 1 minute, then it is gone. What can I do to recharge it again. Thanks

Irina

8 years ago
I'd like to know how to put the side buttons. Thanks

Powerbook Medic

8 years ago
@JUAN - You most likely will need to replace the select button. We sell them in the parts list to the right.

JUAN

8 years ago
hi there i have a kindle DX, and the 5 way controller broke in half any solution to fix this problem? amazon told me they can solve this thanks

Buchner

9 years ago
I am having troble locating the cover retention clips on Kindle DX as well. Is it possible to measure the offset to the clip from each side so that we dont have to fish for it?

Powerbook Medic

9 years ago
@Jim - it unfortunately takes some practice and is more about the feel of where the clips are to know where to use the flat tool to pop them free. Just don't use too much force to make it permanently warp the casing.

JIm

9 years ago
I am having a lot of trouble with the first step. I just need to replace the battery, but it seems that the antenna cover is a very tight fit. I have tried plastic spreader tools, and a putty knife like you use. Any tips on how to feel for the clips, how much pressure to apply?

Lin

11 years ago
The device is fully functional now. I realized that putting the metal back cover back required some patience because all the slots on the sides must be first properly aligned with no gap between the two parts. Then I put the device upside down on a flat surface against a flat vertical wall. When I used my hands to hold the cover in place and gradually and repeated push horizontally, The cover was finally in place. The device is fixed. I am very happy to save $275 if I buy a new one. Great product and helpful video! Thanks a million!

Lin

11 years ago
Just to let you know that I have made it to work now, only have some hard time to put the cover on, but the device works. Thank you for your product and I also learned a lot from the repair. Many thanks.

Lin

11 years ago
The most important instruction that I would appreciate from you is how to install the screen that I purchased from you. Your help is greatly appreciated.

Lin

11 years ago
Thank you for the comments. I have taken it apart with the help of you video. Now would you please tell me what is the best way to separate the middle panel and the screen and how to make connect the ribbon cable to the connector? Do I need to buy a new connector or can use the old one? If so, how? Thank you again.

Powerbook Medic

11 years ago
@Lin - these are really just take-apart videos. You should be able to just do everything in reverse to put it back together.

Lin Chen

11 years ago
Thank you for showing how to take it apart. How about putting the replacement screen back together? It is unclear how one can do it. I ordered a replacement screen from you.
Hide All